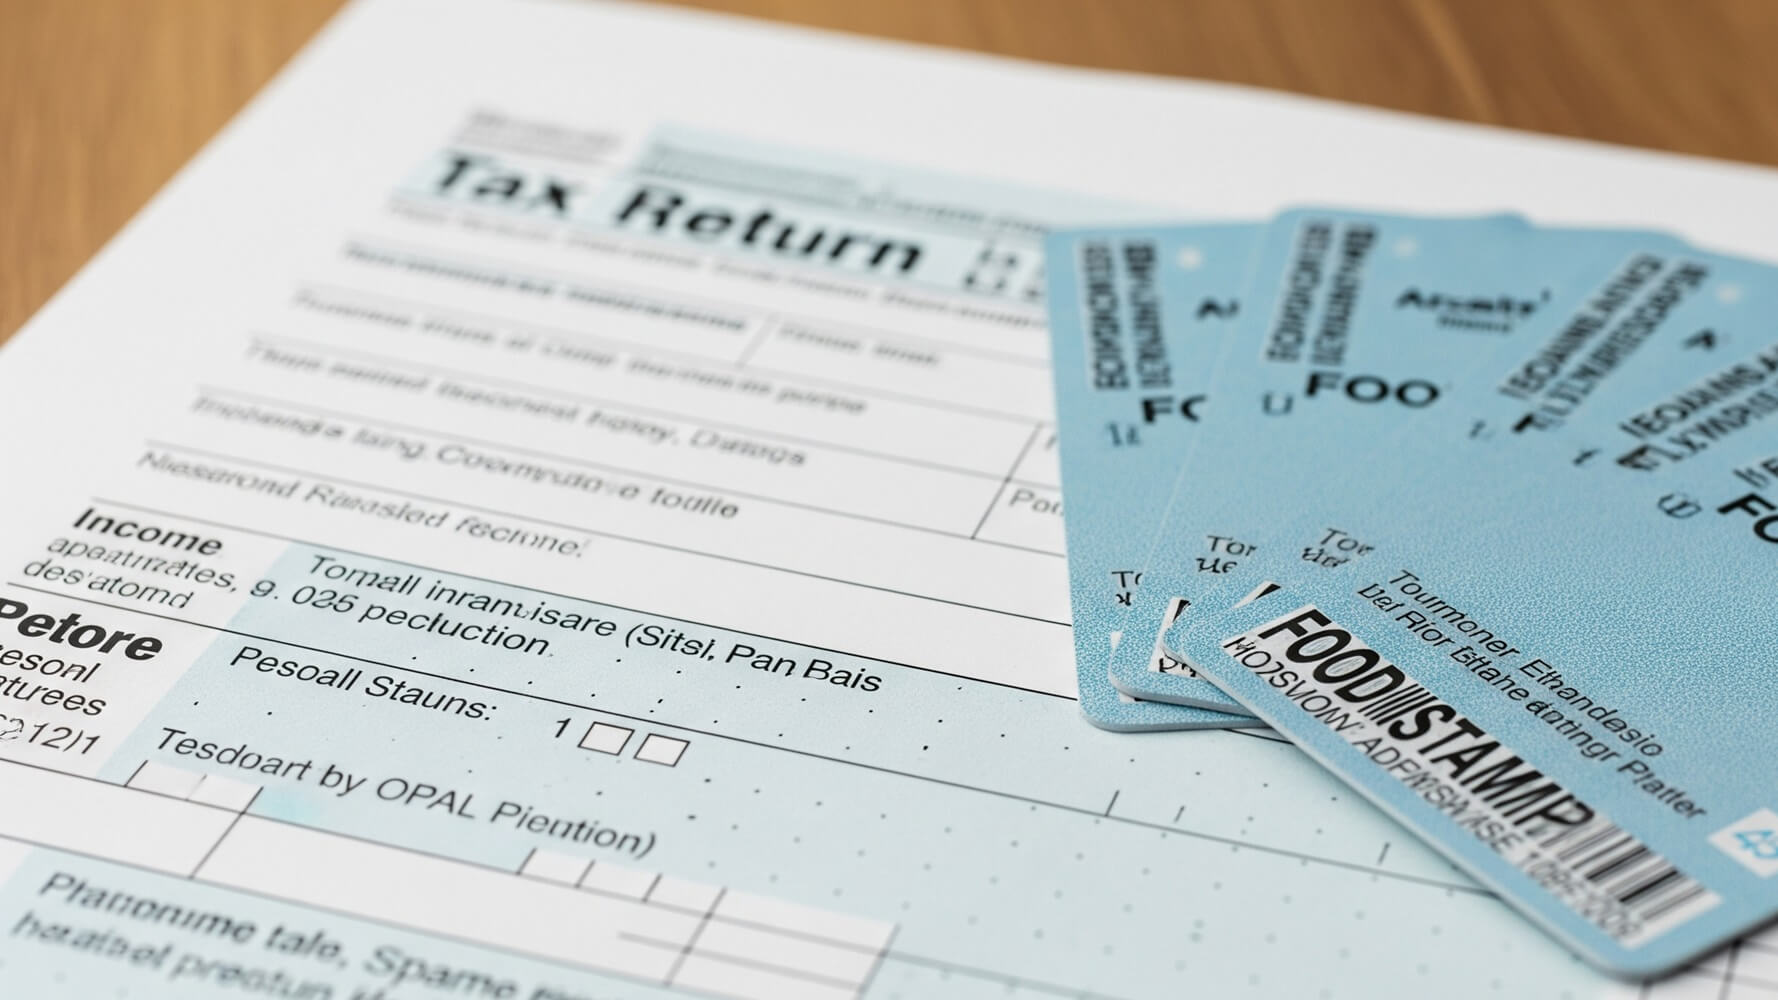
Getting food stamps, officially known as the Supplemental Nutrition Assistance Program (SNAP), can be a big help when you need it. Applying is usually pretty straightforward, but sometimes you need to send in some paperwork to prove you’re eligible. Luckily, most states now let you upload these documents online, making the process easier and faster. This essay will walk you through the steps of how to upload documents for food stamps, helping you understand the process and get your application approved.
What Documents Do I Usually Need to Upload?
When you apply for food stamps, you’ll likely need to provide certain documents to prove things like your income, identity, and where you live. These documents help the government make sure you qualify for the program. The specific documents needed can vary a bit depending on your state, but some common examples include:
Proof of identity: This can include a driver’s license, state ID card, passport, or birth certificate. Make sure the document is clear and easy to read. This helps verify that you are who you say you are, which is a crucial part of the application process.
Proof of income: This is a big one! They need to know how much money you earn to figure out if you meet the income requirements. This can mean pay stubs (showing your income from a job), bank statements (showing money coming in and out), or a letter from your employer. If you’re self-employed, you might need to provide tax returns or other financial records. It’s important to gather all your income-related paperwork to help speed the process.
Proof of address: You’ll need to show where you live. Acceptable documents include a lease agreement (if you rent), a mortgage statement (if you own), or a utility bill (like an electricity or water bill). Having a recent bill with your name and address on it is usually the easiest way to show proof of residency.
Other documents: Depending on your situation, you might need to provide other documents, like proof of expenses (like medical bills or child care costs) or information about any other resources you have, like savings accounts.
Understanding the Application Portal
Each state has its own online portal or website where you apply for food stamps. This is where you’ll usually upload your documents. Finding the right portal can be as easy as a quick search online. Look up “food stamps [your state]” in your favorite search engine, and you should easily find a link to your state’s official website. Once you’re there, it’s usually a fairly simple process.
After you’ve created an account or logged in, look for a section called “Upload Documents,” “My Documents,” or something similar. It might be in the “Application Status” area or under a tab labeled “Benefits.” The website should give you pretty clear instructions on how to proceed. Some portals might ask you to scan or take pictures of your documents before you upload them, others might let you upload directly from your phone or computer.
Many websites have a “FAQ” (Frequently Asked Questions) section or a help desk where you can find answers to your questions. Don’t hesitate to explore these resources if you get confused. Most importantly, double-check to make sure you’ve uploaded the correct documents and that they are easy to read.
Here’s a quick checklist to keep in mind when navigating your state’s portal:
- Find the correct state website.
- Log into or create an account.
- Look for the “Upload Documents” section.
- Follow the website’s instructions.
Preparing Your Documents for Upload
Before you upload your documents, it’s important to prepare them properly. This will help ensure that the food stamp office can easily read and process them. Clear and readable documents mean fewer delays in getting your application approved.
You can use different methods to create images. You can take a clear picture of the document with your smartphone or tablet. Make sure there’s good lighting, so the document is easily visible. It’s also a good idea to flatten the document on a table to avoid shadows or distortions. Another way is to scan the documents. Many households have a scanner at home, or you can use a scanner at a public library or copy shop.
When scanning or taking photos, make sure the entire document is visible. Crop out any unnecessary background to focus on the important information. Also, ensure the text is straight and the images are oriented correctly. Rotate the image if the document is sideways.
Here’s a quick guide to file types and sizes:
- File Types: The food stamp website may accept different file types such as JPEG, PNG, or PDF. Check the guidelines on your state’s website. PDF format is usually preferred for documents with multiple pages.
- File Size: There’s usually a limit to the file size you can upload. If your file is too large, try reducing the resolution or compressing the image.
- File Names: Give each document a clear, descriptive file name. For example, “PayStub_JohnDoe_07012024” will help you and the caseworker identify the document quickly.
- Number of Files: For documents with multiple pages, you’ll need to decide whether to upload each page separately or combine them into a single PDF. If you have multiple pay stubs, you can put them all into one file.
Uploading Documents from Your Phone
Uploading documents from your phone is a super convenient option, as most people carry their phones with them. Most states’ food stamp websites are designed to be mobile-friendly, which means they work well on your phone. Check your state’s website or app for this function.
You can either take a picture of the document directly through the website or app, or you can upload a picture you’ve already taken and saved on your phone. Make sure your phone’s camera is focused and the image is clear before you upload it. Good lighting and a steady hand are essential for getting a good picture.
Before uploading, it is important to consider the security of your information. Make sure you are connected to a secure network, such as your home Wi-Fi, when you upload. Be cautious when using public Wi-Fi. Always check the website’s security certificate to verify that it’s a secure connection (look for “https” in the website address).
Here’s a simple table that summarizes the steps:
| Action | Description |
|---|---|
| 1. Access Portal | Open the food stamp website or app on your phone. |
| 2. Find Upload Option | Navigate to the “Upload Documents” section. |
| 3. Take/Select Photo | Take a new picture or select an existing one. |
| 4. Crop and Adjust | Crop the photo and ensure it is easily readable. |
| 5. Upload | Upload the image to the portal. |
Common Problems and How to Fix Them
Sometimes, things don’t go as planned when you’re uploading documents. It’s normal to encounter a few hiccups, but don’t worry! There are ways to troubleshoot and fix them. Understanding the common issues can help you get your application moving forward smoothly.
One common problem is the wrong file format. The website may only accept certain file types, such as JPEG, PNG, or PDF. Make sure your document is in the correct format before you try to upload it. Another problem is the wrong file size. Websites usually set a limit on the size of the files you can upload. If your file is too large, you may need to compress it or convert it to a lower resolution. Use the website’s guidelines to ensure you’re following their rules.
Another thing to watch out for is blurry documents. Make sure the documents are clear and readable, especially if you’re taking pictures with your phone. If the text is hard to read, try taking the picture again with better lighting, or consider scanning the document instead. If the information is missing, double-check that you have included all the required documents. It’s easy to overlook something!
Here’s a checklist of troubleshooting tips:
- Check the file format and size.
- Make sure the documents are clear and readable.
- Double-check that you’ve uploaded all the required documents.
- If you’re still having trouble, contact customer service for help.
Following Up and Checking Your Application Status
After you’ve uploaded your documents, it’s important to follow up and check the status of your application. This helps you stay informed and ensures that your application is moving forward.
Most states provide a way for you to check the status of your application online. You can usually log into the same portal you used to upload your documents and find an “Application Status” section. This section will give you updates on where your application is in the process.
It is common to have questions, and it’s okay to ask! Be sure to read any emails or letters you receive from the food stamp office. They might ask for more information or notify you of any issues with your application. If you have questions or need clarification, don’t hesitate to contact the food stamp office. Their contact information is usually available on their website or in the application portal.
Here are some things you might see in the status update:
- Received: The office has received your application.
- Reviewing: They are reviewing your documents.
- Pending: They are waiting for you to provide more information.
- Approved: Your application has been approved!
- Denied: Your application has been denied.
Keep an eye on your application status and make sure you respond promptly to any requests for information. This will help speed up the process.
Conclusion
Uploading documents for food stamps might seem daunting at first, but it doesn’t have to be! By understanding the process, preparing your documents correctly, and following the instructions carefully, you can successfully submit your application online. Remember to always double-check the website for your state’s specific requirements, take clear photos, and keep an eye on your application status. With a little patience and attention to detail, you’ll be well on your way to getting the food assistance you need.